
beryll.me
This button activates a pop-up window with news from the beryll website. From this pop-up you can go on to the manual.
Quick tip
If you hover over a button with the cursor a little note will appear to explain its function.

Languages
beryll has the ability to switch between german, english and french as you go. This changes the field titles, but not the field content. There are however some fields where you can make entries in all three languages, namely title, category, subcategory, material and technique. Thus the content will adapt when you switch from one language to another.

New
Create a new empty dataset.

ALL
Show all datasets.

Exclude
Exclude or hide dataset (no longer displays this dataset in the current selection). Used, for instance, in combining datasets for a print command.

Delete
Delete this dataset.

Duplicate
Use this button to duplicate a dataset. This is helpful when you are recording editions or multi-part works so you do not have to type in the same information again and again.
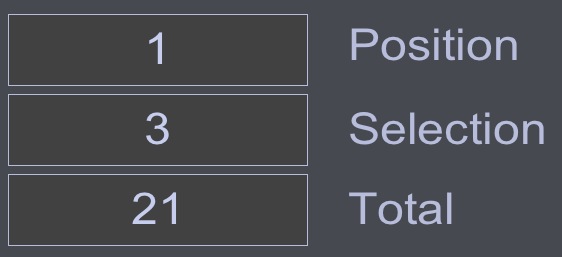
Position / Selection / Total
Position = Which dataset am I in?
Selection = How many datasets are in my current selection? (If the Selection should happen to not be correct, click the ALL button to refresh the display.)
Total = How many datasets does this module contain?

Go to dataset number
Clicking the questionmark opens a little window where you can enter a dataset number (ID). This lets you jump directly to the desired dataset.

Navigation
Navigation button: move between datasets.
<< to the first dataset
< to the previous dataset
> to the next dataset
>> to the last dataset
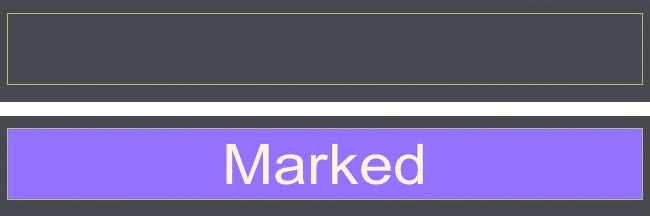
Marked
Add the marker by clicking on the Marking field: an M or the word Marked will appear. Click this field again to remove the marker.
The PICTURES module offers two different markers, which means you can work with two groups at the same time.

Mark
Datasets may be marked, allowing you to easily group them for editing later on. Pressing the Mark button opens a pop-up window with various options, e.g. display all marked datasets, remove all markers, assign markers to all selected datasets.

Selection
Group datasets together according to various criteria. Pressing the Selection button opens a pop-up window with various options, e.g. show records with Parts / Editions, show records from this Author, with pictures.

Sorting
Pressing the Selection button opens a pop-up window where you can choose which criteria to sort by (e.g year created) in ascending or descending order.
This only affects the records in your current selection. If you want to sort all records, press the ALL button first.
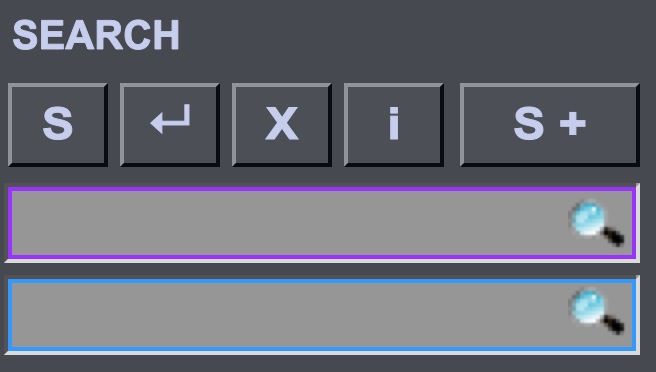
Search
S = Free search
This button shifts all fields of the input mask into search mode. Search keywords may be entered directly in the fields.
Start the search by clicking the Enter button. You may also press the Enter key on your keyboard.
X = Abort. If you would like to discontinue the search, click on Abort.

Info window
Upon mouse-over a brief information with the most important search operators appears. Pressing the Info key opens a pop-up window in which all the search operators are described in detail.

Search +
Search + allows you to search and group datasets according to several criteria at once and to group them in various selections. Enter the search terms and, if necessary, FIND MORE and confirm the search by pressing the Enter key on your keyboard or by clicking on the Enter button in the input mask.
IMPORTANT: Search terms within the same search line are linked with the connector AND, so the result will include all search terms which were entered in the available search fields. Mutliple search lines are linked with the connector OR, so the result includes the search term/terms in one line or in the other. Example 1: In the first line, enter "2007" under Year created and "painting" (but without the quotation marks) under Subcategory: The search result will include all datasets with 2007 as Year created AND painting as Subcategory.Example 2: In the first line, enter "2007" under Year created and click on FIND MORE. In the second line, enter "painting" under Subcategory: the search result will include all datasets that have 2007 as Year created OR painting as Subcategory. In the same manner you may click on FIND MORE to add more search lines with one or several search terms. By clicking on the COLLECTION button in the main menu bar the search result may then be transferred (in the case of this example) to the WORK Info page, where the selection may be edited until a new search is initiated or the selection is cancelled.
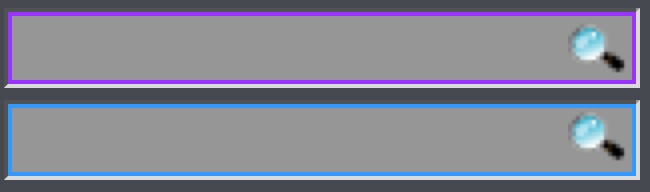
Total search / Quick search
Total search: the simplest search option in each module is to enter the search keyword in this field and confirm the search with the Enter key on your keyboard or by moving outside of the field. The search covers all fields in the main table including links, not however the fields in the portals. This option may take some time since all fields are being scanned. The Total search entry field has a purple frame.
Quick search: the Quick search scans the key fields in the main table. In the EXHIBITION module this would be Title, Type, Status, City / Town, Exhibition venue, Curator etc. The Quick search entry field has a blue frame.
Price - Hide
Hides the prices in all records of the current module. A second click displays the prices again. If access to price information is not intended for all users you can create a password in the SPECIALS - Settings module.
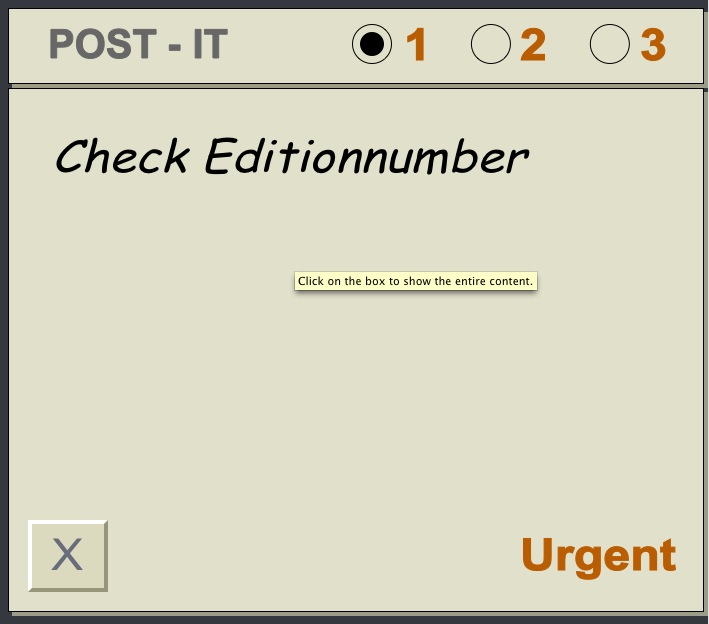
Post-it
Post-it allows you to post notes to yourself and label these with priority 1, 2 or 3. If marked 1 (urgent), the note will appear in the TO-DO module every day until taken care of or no longer assigned first priority. The X button deletes the entry and marker.
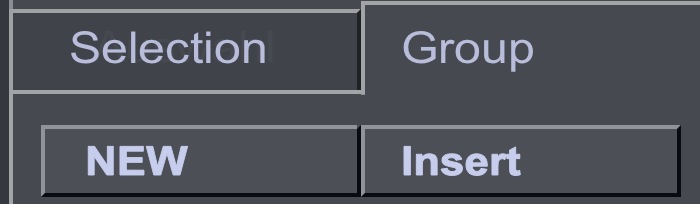
Group
After clicking on Group you can choose Insert in order to add the current record or current selection of records to a group from the drop-down menu.
The NEW button creates a new group in the current record, which you can label as you like. This new group is then automatically added to the list of existing groups.
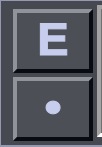
Group / Edit or Delete
Press the E button to edit, i.e. rename the group.
The dot button removes the group from the current record.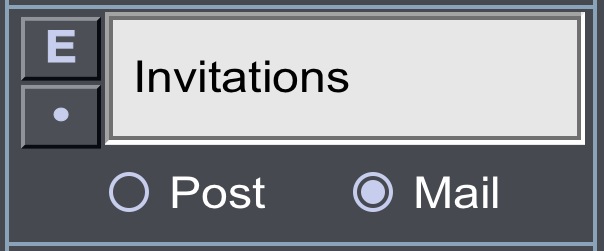
Group / Edit or Delete in Contacts
Press the E button to edit, i.e. rename the group.
The dot button removes the group from the current record. Choose either Post or Mail. These groups are used to send email newsletters or circulars.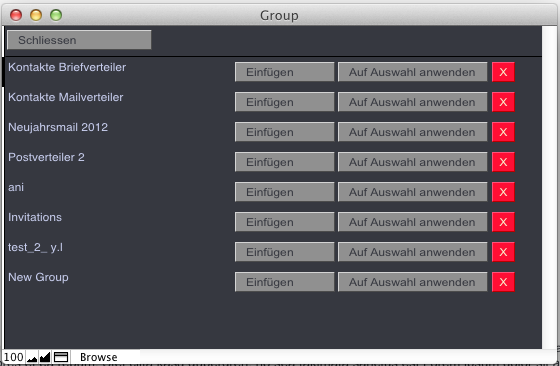
Group / Insert
After clicking on Group you can choose Insert in order to add the current record or current selection of records to a group from the drop-down menu. Choose the group by scrolling or search for a particular word.
Paste = Adds the current record to the group.
Apply to selection = Adds all records in your selection to the group. (The current selection is displayed in the navigation bar to the right.)

Purchase / Activate
If you press Purchase or Activate a pop-up window will open where you can request and enter the applicable code.
Within a few minutes you will receive an email with your activation code.
In case of a purchase your version will be unlocked for unlimited use and you can continue your work.

plus / minus
Plus adjusts the programme window to full-screen display, minus switches to the smallest possible size.
Adjust Info Formula
Hides or displays the field titles in the Info-layout and in Print-layouts.
Example:Year created: 1968
Inventory number: INST__000046
Edition: unique
Subcategory: Installation With hidden field title display:
1968
INST__000046
unique
Installation

Import
The Import button lets you import individual pictures or entire folders. These will be allocated to the record from which you perform the import. The number to the right shows how many pictures already are allocated.

Insert
Press Insert to allocate already imported pictures to a record. In the pop-up window you can sort the pictures by used / unused or search for a particular term.

Show all pictures
This button connects to the Pictures module where you see all pictures that are allocated to the record in question. The Pictures module also contains further information regarding the image and shows links to the other modules.

Delete image
This button is found next to images. Clicking it irrevocably deletes the image in question.

Remove
This button removes connections, but does not delete not the allocated dataset.

Reference image
In the modules COLLECTION, EXHIBITION, PUBLICATION and CONTACT you can import or allocate images. One image can be marked as a reference image to be used for layouts.

Opens a browser window and displays the results of a Google search on the name of the author, contact, company etc. The web search function is also available by clicking on the underlined active fields titles in all modules.

Allocate
Allows you to search for contacts or allocate works, exhibitions or publications.

Confirm allocation
Confirm allocation and return to original dataset.
If you have started the allocation process beryll will go to the module in which you can find the desired entry.
An example: In the COLLECTION module you pressed "Z" as in Allocate to find the author of a work. This takes you to the CONTACT module. Here you can navigate or search for the right contact. If you cannot find them, use the "NEW" button to create a new record. As soon as you have got the correct entry that you wish to allocate as the author, press the red "Confirm allocation" button in the navigation bar.

I
The I button uploads the information related to the person defined as I in Contacts.

Up / Down
Scrolls up or down in sets of data entries.
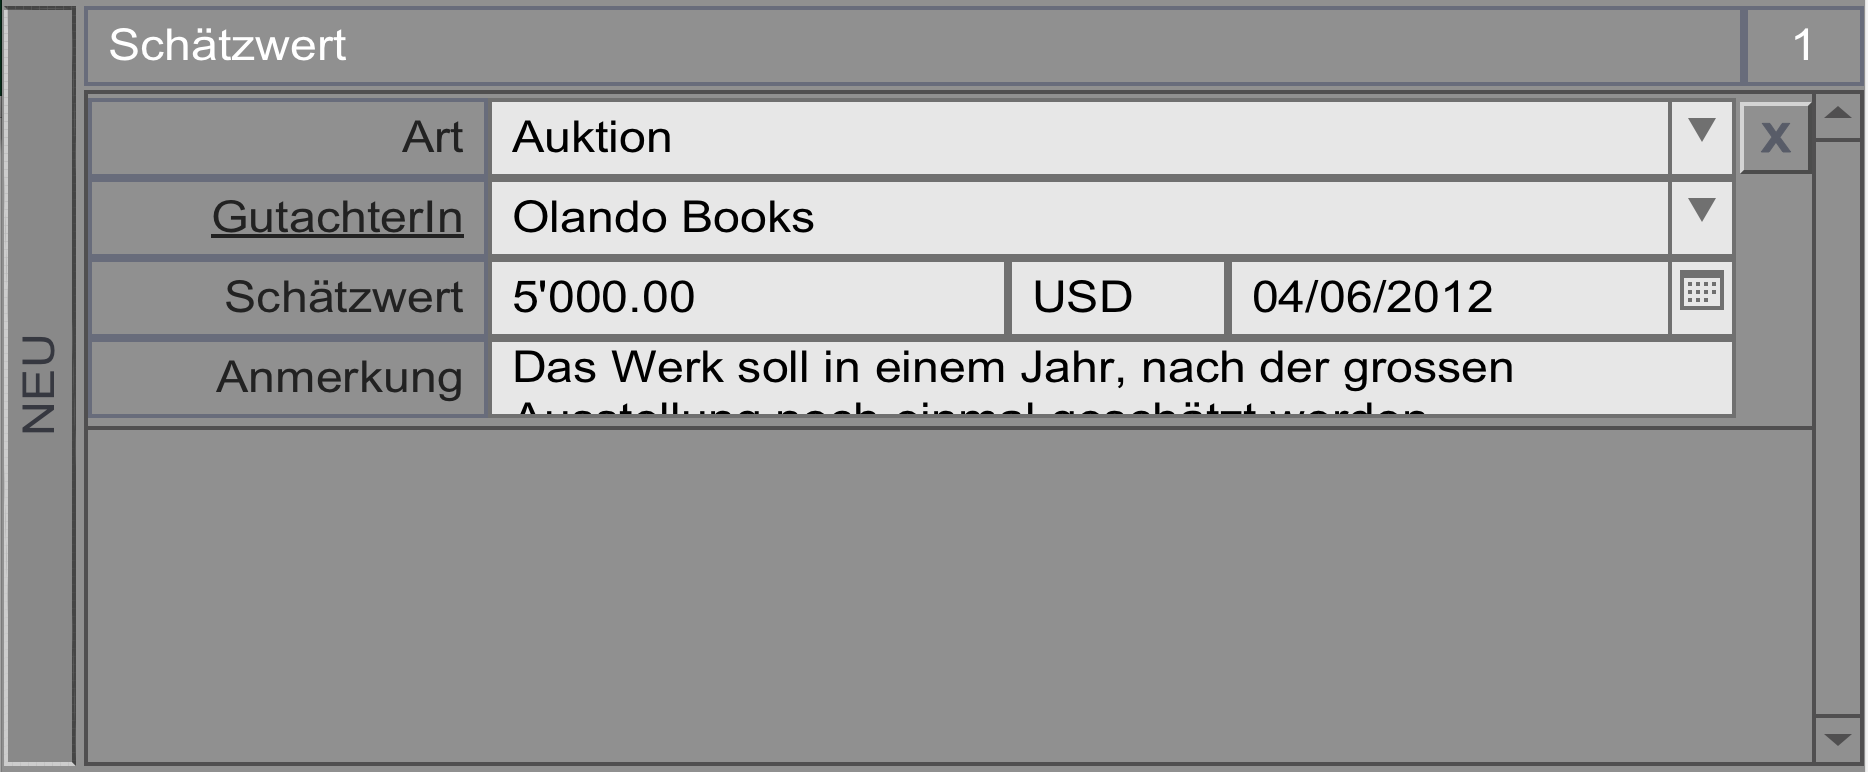
New portal entry
Data that are organized in a particular table (module) may be supplemented with additional information (data) through a subtable. Such "windows to other datasets" are referred to as portals.
A portal can hold multiple entries for the same dataset, for example several measurements or several appraised values. The vertical NEW button appears in portals and creates a new entry within a portal.

Historicize
The Historicize function allows you to record changes in the COLLECTION module whenever there is a change in the condition of a work. By clicking on "Historicize" you may save the data previously recorded as "historical" and then enter the updated information as "current." The HISTORY table allows you to keep track of changes in the condition of a work.

Go to
Takes you to the corresponding dataset.

Active Field titles
If a field title is underlined you can click on it. In the COLLECTION, EXHIBITION, and PUBLICATION modules you can click on Title which will trigger a Google search for the entry in this field.
In other cases the underlined field title works like a "Go to" button that takes you to the corresponding dataset. This is mostly the case in fields with contact entries.
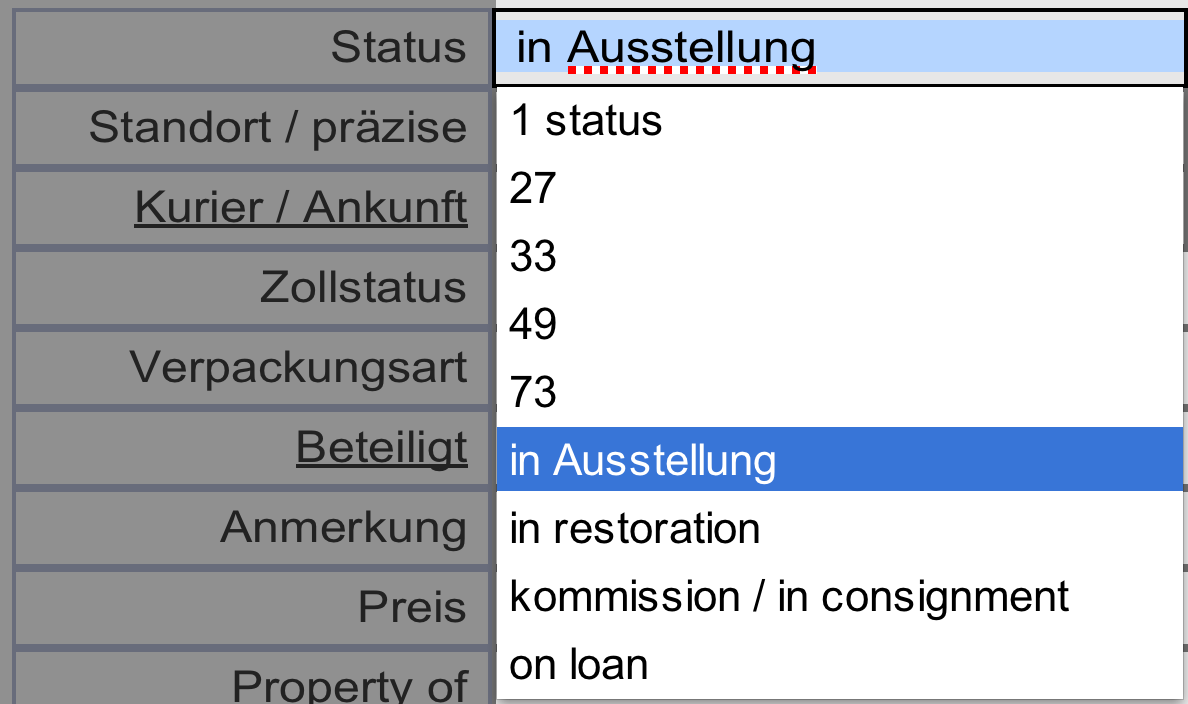
Drop-down menus
The drop-down menus are an easy way to fill out entry fields. Anything that has been typed into a particular field will be stored in the list for future use.
If you happen to find a spelling error in a drop-down list, use the "S" button to switch into search mode, enter the typo in the applicable field and execute the search. Now correct the spelling error. Once you have corrected all the records with the typo it will also be gone from the list.